
How to Turn On AirDrop on iPhone, Mac, and iPad
Short Answer
How to turn on AirDrop: on iPhone or iPad, open Control Center, touch and hold the top left connectivity card, tap the AirDrop icon, then choose Contacts Only or Everyone for 10 Minutes. On a Mac, click Control Center in the menu bar and click AirDrop. When the icon turns blue, AirDrop is on. If you are facing other AirDrop issues, the common fixes are covered in the AirDrop problems hub.
AirDrop lets you send photos, videos, links, documents, and more to nearby Apple devices without a cable, email, or messaging app. You only need Wi-Fi and Bluetooth on, both devices close together, and the right receiving setting. This guide shows every way to turn on AirDrop, plus how to send, receive, and turn it off.
What You Need Before You Turn On AirDrop
AirDrop works when four simple conditions are met. Check them once and AirDrop usually works at once.
- Both devices are Apple devices: iPhone, iPad, or Mac.
- Wi-Fi and Bluetooth are on on both devices.
- Both devices are within about 30 feet, or 10 meters, of each other.
- Both devices are unlocked and awake.
You do not need to be connected to a Wi-Fi network. AirDrop creates its own direct wireless link between the devices. You do need Wi-Fi turned on, even if you are not joined to a network.
If you are signed in to the same Apple Account on both of your own devices, transfers between them can start without an Accept tap. If you share with someone else, the receiver must tap Accept.
How to Turn On AirDrop on iPhone
How to turn on AirDrop on iPhone takes about five seconds. Use Control Center for the fastest path, or Settings for the full set of options.
Method 1: Turn On AirDrop From Control Center
- Swipe down from the top right corner of the screen to open Control Center. On an iPhone with a Home button, swipe up from the bottom.
- Touch and hold the top left connectivity card, the group with Airplane Mode, Wi-Fi, Bluetooth, and Cellular Data.
- Tap the AirDrop icon.
- Choose Contacts Only or Everyone for 10 Minutes.
When the AirDrop icon turns blue, AirDrop is on and your iPhone can receive files. If the icon is grey, AirDrop is off.
Method 2: Turn On AirDrop From Settings
- Go to Settings, then General, then AirDrop.
- Under Receiving, choose Contacts Only or Everyone for 10 Minutes.
- Make sure Wi-Fi and Bluetooth are on in Settings.
The Settings page also shows extra AirDrop options. Bringing Devices Together lets you start AirDrop by holding the tops of two iPhones together. Use Cellular Data lets AirDrop keep sending over cellular if you move out of range.
Apple explains the same controls in the iPhone User Guide: open Control Center, touch and hold the connectivity card, tap AirDrop, and choose Contacts Only or Everyone for 10 Minutes. You can read the official steps in the Apple Support guide on how to use AirDrop to send items to nearby Apple devices.
How to Turn On AirDrop on iPad
How to turn on AirDrop on iPad is the same as on iPhone. Use Control Center or Settings, and choose who can send to you.
- Swipe down from the top right corner to open Control Center.
- Touch and hold the top left connectivity card.
- Tap the AirDrop icon and choose Contacts Only or Everyone for 10 Minutes.
Or go to Settings, then General, then AirDrop, and choose your receiving setting. The iPad must have Wi-Fi and Bluetooth on, and it must be unlocked when someone sends you a file.
How to Turn On AirDrop on Mac
How to turn on AirDrop on Mac takes two clicks. Use Control Center in the menu bar, or Finder for the full AirDrop window.
Method 1: Turn On AirDrop From Mac Control Center
- Click Control Center in the menu bar at the top right of the screen.
- Click AirDrop to turn it on.
- Click the small arrow next to AirDrop to choose Contacts Only or Everyone for 10 Minutes.
Method 2: Turn On AirDrop From Finder
- Open Finder.
- Click AirDrop in the left sidebar.
- At the bottom of the window, set Allow me to be discovered by to Contacts Only or Everyone for 10 Minutes.
The Finder AirDrop window is the best way to receive on a Mac, because it keeps the Mac discoverable while it is open. Keep the Mac awake and unlocked while you receive.
Contacts Only vs Everyone for 10 Minutes: Which Should You Choose?
AirDrop has two receiving settings. The right choice depends on who is sending to you.
| Setting | Who Can Send to You | When to Use It |
|---|---|---|
| Contacts Only | People in your contacts, with a matching phone number or email | Daily use, best privacy |
| Everyone for 10 Minutes | Any nearby Apple device | Sharing with a stranger, a classmate, or a new contact |
| Receiving Off | No one | When you do not want any AirDrop requests |
Everyone for 10 Minutes switches back to Contacts Only after 10 minutes. This protects you from unwanted AirDrop requests in public places. If someone cannot find you, switch to Everyone for 10 Minutes and try again.
If you use Contacts Only and the sender cannot find you, check that the sender contact card on your device includes the sender Apple Account email or phone number. A missing detail can block Contacts Only even when the sender is a known contact.
How to AirDrop: Send Your First File
How to AirDrop is simple once AirDrop is on. You send from the Share menu in almost any app.
- Open the photo, video, link, document, or contact you want to send.
- Tap Share.
- Tap AirDrop in the share sheet.
- Tap the recipient when their device appears.
- Ask the recipient to tap Accept on their device.
On a Mac, you can also drag a file into the Finder AirDrop window and drop it on the recipient. Or Control-click a file, choose Share, then AirDrop.
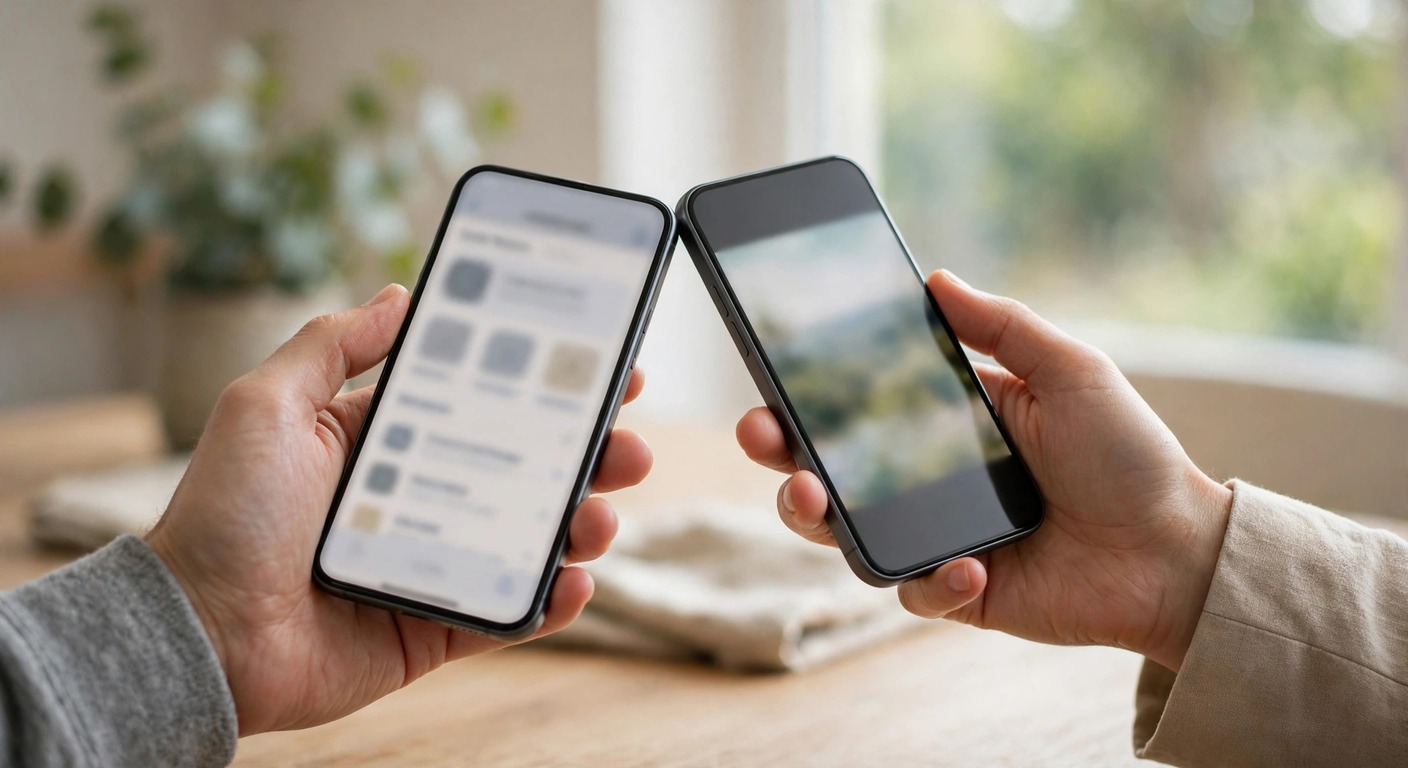
On iPhone, you can also hold the tops of two iPhones together to start AirDrop, if Bringing Devices Together is on. This is the fastest way to share with someone standing next to you.
How to Accept an AirDrop
When someone sends you a file, your device shows an AirDrop prompt with a preview and the sender name. Tap Accept to save the file, or Decline to refuse it.
- Photos and videos save to the Photos app.
- Files and documents save to the Files app or the app that opens that file type.
- Links open in Safari or the app that handles them.
- Contacts save to the Contacts app.
If you are signed in to the same Apple Account on both devices, the file can save automatically without an Accept tap. If you accepted a file but cannot find it, see our guide on how to find downloads on iPhone to check Photos and the Files app.
How to Turn Off AirDrop
How to turn off AirDrop on iPhone is the reverse of turning it on. You can turn it off for privacy, to stop unwanted requests, or to save battery.
- On iPhone or iPad, open Control Center, touch and hold the connectivity card, tap AirDrop, and choose Receiving Off.
- Or go to Settings, then General, then AirDrop, and choose Receiving Off.
- On a Mac, click Control Center in the menu bar, click AirDrop to turn it off, or set Finder AirDrop discovery to No One.
Turning off AirDrop does not turn off Wi-Fi or Bluetooth. It only stops your device from receiving AirDrop requests. You can turn it back on at any time.
AirDrop Not Turning On: Greyed Out, Missing, or Not Showing
If AirDrop will not turn on, check these causes in order. Most are settings, not hardware faults.
- Wi-Fi or Bluetooth is off. Turn both on in Settings.
- Airplane Mode is on. Turn it off.
- Do Not Disturb or a Focus mode is hiding the AirDrop prompt.
- Screen Time restrictions block AirDrop. Check Settings, then Screen Time, then Content and Privacy Restrictions.
- Personal Hotspot is on. Turn it off, because it uses the same Wi-Fi radio.
- A VPN is connected. Disconnect it for the test.
- Your device needs a software update.
- You are signed out of your Apple Account, so Contacts Only cannot verify contacts.
If AirDrop is on but transfers fail, the problem is not the on switch. See our guide on AirDrop not working for the full 12 fix checklist, including firewall, discovery, and Waiting or Failed messages.
If the AirDrop icon is missing from Control Center, restart the device first. A restart clears most temporary Control Center faults. If it is still missing, update the system and check Screen Time restrictions.
AirDrop Code, NameDrop, and Cellular Data: Three Settings Most Guides Miss
These three AirDrop features confuse many people, and most short guides skip them.
- AirDrop code: On iOS 26.2 and later, sharing with someone who is not in your contacts may ask for an AirDrop code. The receiver sees the code on their screen. Enter it to finish the transfer. You will not need the code again for 30 days with the same person.
- NameDrop: NameDrop is not AirDrop, but it uses the same hold together gesture. Hold the tops of two iPhones together to share a contact card. If NameDrop starts when you wanted AirDrop, move apart and use the Share menu instead.
- Use Cellular Data: In Settings, then General, then AirDrop, you can turn Use Cellular Data on or off. When it is on, AirDrop can keep sending over cellular if you move out of range. When it is off, AirDrop only uses Wi-Fi.
Leave Use Cellular Data off if you have a small data plan. Turn it on if you often send large files and move away during a transfer.
Which Devices Support AirDrop?
AirDrop needs a compatible Apple device. If one device is much older than the other, AirDrop may not work between them at all.
| Device | AirDrop Support | Notes |
|---|---|---|
| iPhone 5 and later | Yes | Update to the latest iOS the device supports |
| iPad 4 and later, iPad mini and later | Yes | Older iPads may not support newer features such as NameDrop |
| Mac from 2012 and later | Yes, with OS X Yosemite or later | Older Macs may need legacy discovery |
| Apple Watch, Apple TV, Android, Windows | No | Use a cable, email, or cloud sharing instead |
If you are unsure which model you own, see our guide on what iPhone do I have to check your model before you compare it to the table.
FAQs About How to Turn On AirDrop
How do I turn on AirDrop on my iPhone?
Open Control Center, touch and hold the top left connectivity card, tap the AirDrop icon, and choose Contacts Only or Everyone for 10 Minutes. When the icon turns blue, AirDrop is on.
How do I turn on AirDrop on a Mac?
Click Control Center in the menu bar and click AirDrop. Or open Finder, click AirDrop in the sidebar, and set Allow me to be discovered by to Contacts Only or Everyone for 10 Minutes.
How do I turn on AirDrop on an iPad?
Swipe down to open Control Center, touch and hold the connectivity card, tap AirDrop, and choose Contacts Only or Everyone for 10 Minutes. Or go to Settings, then General, then AirDrop.
Why is my AirDrop not turning on?
Check that Wi-Fi and Bluetooth are on, Airplane Mode is off, Personal Hotspot is off, and Screen Time is not blocking AirDrop. Restart the device and try again.
How do I turn off AirDrop on iPhone?
Open Control Center, touch and hold the connectivity card, tap AirDrop, and choose Receiving Off. Or go to Settings, then General, then AirDrop, and choose Receiving Off.
What is the difference between Contacts Only and Everyone?
Contacts Only lets only people in your contacts send to you. Everyone for 10 Minutes lets any nearby Apple device send to you, then switches back to Contacts Only after 10 minutes.
Do I need Wi-Fi to use AirDrop?
Wi-Fi must be turned on, but you do not need to be joined to a Wi-Fi network. AirDrop creates its own direct wireless link between the devices.
Does AirDrop work with Android or Windows?
No. AirDrop works only between Apple devices such as iPhone, iPad, and Mac. For Android or Windows, use a cable, email, or a cloud sharing link instead.



3 Comments