
How to AirDrop Photos on iPhone: 7 Easy Steps That Work
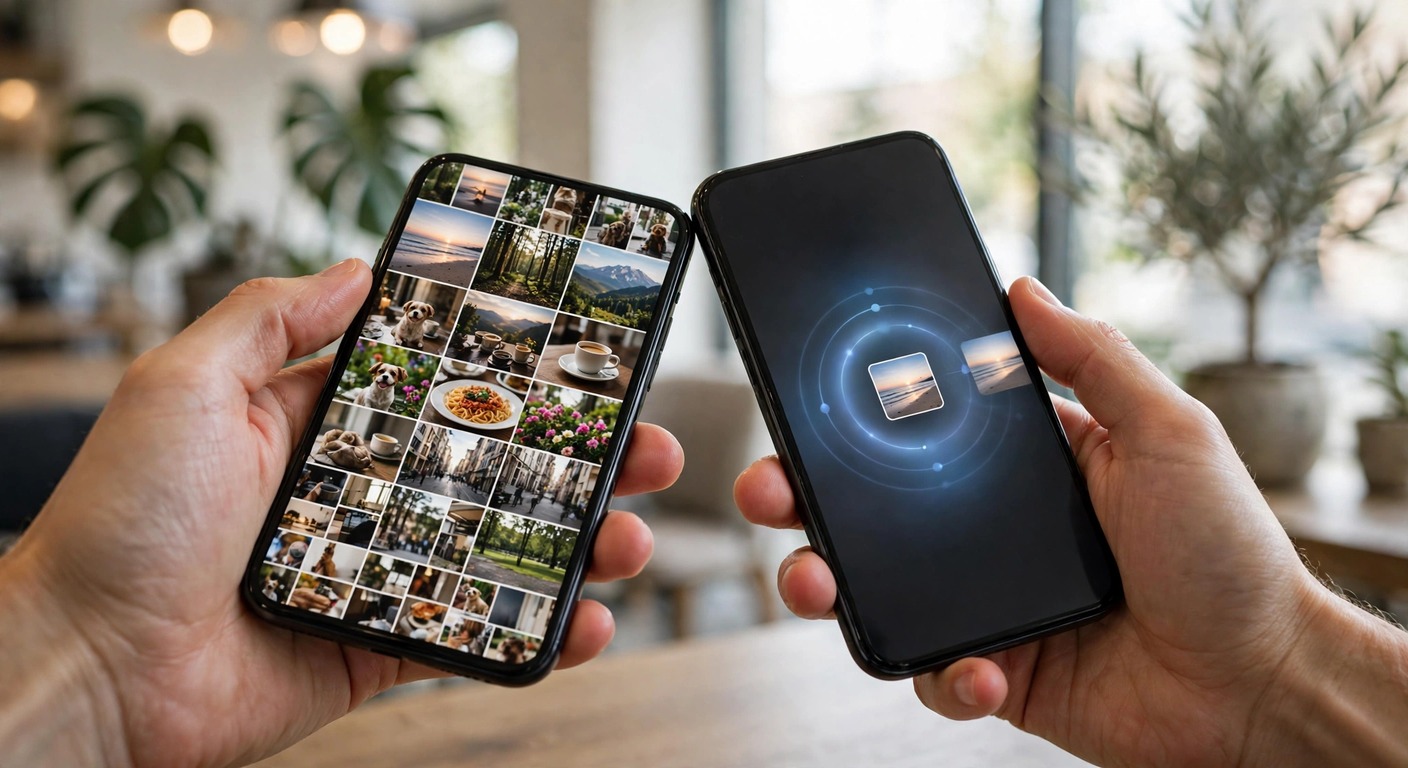
Learning how to airdrop photos is the fastest way to move pictures from one iPhone to another without a cable, a messaging app, or a loss of quality. Open Photos, select the pictures you want, tap Share, tap AirDrop, and tap the nearby device. The other person taps Accept, and the photos land in Photos within seconds. If you are facing other AirDrop issues, the common fixes are covered in the AirDrop problems hub.
This guide covers the photo-specific details that general AirDrop guides often skip. You will learn what to check before you send, how to airdrop a photo to another iPhone, how to airdrop photos from iPhone to Mac, and how to send a whole album in one batch. You will also learn where received photos go and how to fix it when a device does not appear.
What You Need Before You AirDrop Photos
What is AirDrop? It is Apple’s direct wireless sharing feature for iPhone, iPad, and Mac. It uses Bluetooth to find a nearby device and Wi-Fi to move the file, so you do not need a cable, mobile data, or an internet connection for the transfer itself.
AirDrop needs Wi-Fi and Bluetooth turned on for both devices, even though you do not need to join a Wi-Fi network. Both devices must be awake, unlocked, and close together, ideally within about 30 feet. Turn off Personal Hotspot on both devices, because it uses the same Wi-Fi radio.
On the receiving device, choose Contacts Only if the sender is in your contacts, or Everyone for 10 Minutes for anyone else. If you have not set this up yet, our guide to how to turn on AirDrop walks through both choices and where to find them in Control Center and Settings.
- Wi-Fi turned on for both devices
- Bluetooth turned on for both devices
- AirDrop receiving set to Contacts Only or Everyone for 10 Minutes
- Both screens awake and unlocked
- Devices close together, with Personal Hotspot turned off
How to AirDrop Photos on iPhone to Another iPhone
Learning how to airdrop photos on iphone starts in the Photos app, not in Settings. Once receiving is set on the other phone, the steps are the same for one photo and for a small set of photos.
- Open Photos and tap Library, then find the photo you want to send.
- Tap Select in the top right corner, then tap each photo you want to include.
- Tap the Share button, then tap AirDrop in the share sheet.
- Tap the name or photo of the nearby iPhone when it appears under People.
- Ask the other person to tap Accept, then keep both phones close until the progress ring finishes.
That is how to airdrop a photo to one person, and the same flow works when you airdrop pictures to a friend who is standing next to you. If the name in the share sheet looks unfamiliar, our guide to how to change AirDrop name explains why the device name is the name you see.
If the other person is not in your contacts, they must set AirDrop to Everyone for 10 Minutes before you send. On newer iPhones, they may also need to share an AirDrop code. Ask them to read the code from their screen and enter it on your phone when asked.
How to AirDrop Photos From iPhone to Mac
Learning how to airdrop photos from iphone to mac is useful when you want to edit on a larger screen or free up space on your phone. The iPhone steps stay the same, but the Mac must be awake and discoverable first.
- On the Mac, open Finder and click AirDrop in the sidebar.
- Set Allow me to be discovered by to Everyone for 10 Minutes for the test.
- On the iPhone, open Photos, tap Select, and choose the photos to send.
- Tap Share, tap AirDrop, then tap the Mac when it appears.
- Click Accept on the Mac if a prompt appears, then wait for the transfer to finish.
Photos sent to your own Mac with the same Apple Account often save without an Accept prompt. If a prompt does appear, click Accept promptly, because the request can time out if the Mac is locked or asleep.
How to Send Multiple Photos at Once
This is how to send airdrop photos in a single batch, rather than one by one. In Photos, tap Select, tap every photo you want, check the count at the top of the screen, then tap Share and AirDrop. The receiver accepts once for the whole batch.
How many photos can you airdrop at one time? Apple does not publish a fixed number, so there is no hard photo count to hit. The practical limits are free storage on the receiving device, battery, and how long you can keep both devices close and awake.
For reliability, send very large collections in batches of about 50 to 100 photos. Smaller batches finish faster, are easier to retry, and are less likely to stall if one device locks or moves out of range. If a batch stalls, split it in half and send each half again.
How to Receive AirDrop Photos and How to Accept or Decline
How to receive airdrop photos starts before the sender taps Share. Turn on Wi-Fi and Bluetooth, set AirDrop receiving to Contacts Only or Everyone for 10 Minutes, and keep your screen awake. A banner will then appear with the sender name and a preview.
How to accept airdrop photos is simple: tap Accept on the banner, and the photos save at once. To refuse a transfer, tap Decline. The sender will see that the transfer was declined, and no photos will be saved on your device.
If both devices use the same Apple Account, the photos may save automatically without an Accept button. That is normal for your own devices. If you do not see a banner at all, check that Focus or Do Not Disturb is not hiding it.
Where Do AirDropped Photos Go?
Learning how to find airdrop photos starts with the device that received them. On an iPhone or iPad, received photos go straight to the Photos app. They appear in Recents, sorted by the date they were taken, not in a separate AirDrop album.
How to find airdrop photos on iphone is therefore a Photos search, not a Files search. Open Photos, tap Library, and scroll to the date shown on the photo, or use Search for a place, person, or date. If you just accepted the photos, they should also be near the top of Recents.
On a Mac, accepted photos go to the Downloads folder in Finder. Open Finder, click Downloads, and sort by Date Added to find them at the top. From there, you can drag them into Photos or double-click to open them.
If a received photo is private, do not leave it in Recents where anyone holding your phone can see it. Learn how to hide photos on iPhone so you can move it to the locked Hidden album in a few taps.
HEIC vs JPG When You AirDrop Photos
Does airdrop compress images? No, AirDrop does not compress images in the way messaging apps do. It sends the original file at full quality, so a photo should look the same on the receiving device as it did on the sending device.
Most iPhone photos are saved as HEIC, which keeps quality high while using less storage than JPG. When you AirDrop to another Apple device, the file usually stays HEIC. That is fine for iPhone, iPad, and Mac, but some older apps and non-Apple devices may not open HEIC files.
To airdrop photos as JPG instead of HEIC, change the format for future photos in Settings, then Camera, then Formats, and choose Most Compatible. For photos you already took, go to Settings, then Photos, and under Transfer to Mac or PC choose Automatic, which converts HEIC to a compatible format when sending to a Mac or PC.
If a friend still cannot open a HEIC photo, open it on your Mac in Preview and export it as JPG, then send the JPG copy. That keeps the original HEIC file safe while giving the other person a file every device can open.
Troubleshooting: Why Is the Other Device Not Showing Up?
When a device is not found, fix the receiving device first, because that is the device the sender must discover. Start with the receiving setting, then the radios, then distance and screen lock. Most missing device problems are fixed by one of those four checks.
- Set the receiver to Everyone for 10 Minutes for the test.
- Turn Wi-Fi and Bluetooth off and on again on both devices.
- Unlock the receiver and keep its screen on during the transfer.
- Move the devices next to each other and remove a very thick case if needed.
- Turn off Personal Hotspot, disconnect any VPN, and turn off Focus on the receiver.
- Restart both devices, then try again with one small photo.
If the device still does not appear, check for a software update on both devices and confirm that both devices support AirDrop. If the problem persists after those checks, follow our AirDrop not working guide for the full checklist, including firewall, Focus, and Screen Time settings.
For official steps from Apple, see the Apple Support guide to how to use AirDrop on your iPhone or iPad. It confirms the same basics: both devices need Wi-Fi and Bluetooth on, and the receiver must be nearby and discoverable.
Quick Checklist Before You Send
Before you tap Share, confirm Wi-Fi and Bluetooth are on, the receiver is set to Contacts Only or Everyone for 10 Minutes, and both devices are awake and close together. Select your photos, check the count, tap AirDrop, and ask the receiver to tap Accept. That short routine is the whole answer to how to airdrop photos, and it works for one photo, a batch, and a transfer to Mac.
If you skipped the airdrop turn on step, go back to Control Center and set receiving before you try again. That one setting is the reason most first transfers fail, and it takes only a few seconds to fix.
How many photos can you airdrop at one time?
Apple does not publish a fixed number. The practical limits are free storage, battery, and transfer time. For very large collections, send batches of about 50 to 100 photos for the most reliable transfer.
Does airdrop compress images?
No. AirDrop sends the original file at full quality, unlike messaging apps that often shrink photos to save data.
Where do airdropped photos go?
On iPhone or iPad, they go to the Photos app, under Recents. On a Mac, they go to the Downloads folder in Finder, wher you can import them into Photos if you want.
How to airdrop photos as JPG instead of HEIC?
For future photos, go to Settings, then Camera, then Formats, and choose Most Compatible. For photos you send to a Mac or PC, go to Settings, then Photos, then Transfer to Mac or PC, and choose Automatic.
Why is the other device not showing up?
Fix the receiver first. Set AirDrop to Everyone for 10 Minutes, toggle Wi-Fi and Bluetooth off and on, unlock the device and keep the screen on, move closer, turn off Personal Hotspot, VPN, and Focus, then restart both devices and update the software if it still fails.
How to accept or decline an airdrop?
Tap Accept on the prompt to save the photos, or tap Decline to refuse them so nothing is saved. Devices signed in to the same Apple Account may save photos automatically without a prompt.



One Comment