How to Post Reels on Instagram: Step-by-Step Guide
If you want to post Reels on Instagram, understanding the correct process helps ensure your videos look professional and reach the widest possible audience. Whether you are uploading a pre-recorded video from your camera roll or recording directly inside the app, Instagram makes it easy to create and publish engaging short-form content.
This guide walks you through how to post Reels on Instagram step by step, including how to upload your video, add captions, music, hashtags, and a cover image, adjust your sharing settings, and publish your Reel so it appears exactly the way you intended.
What You Need Before Posting a Reel
Before you start, make sure you have:
- The latest version of the Instagram app installed
- A video file saved to your device, or a plan to record within the app
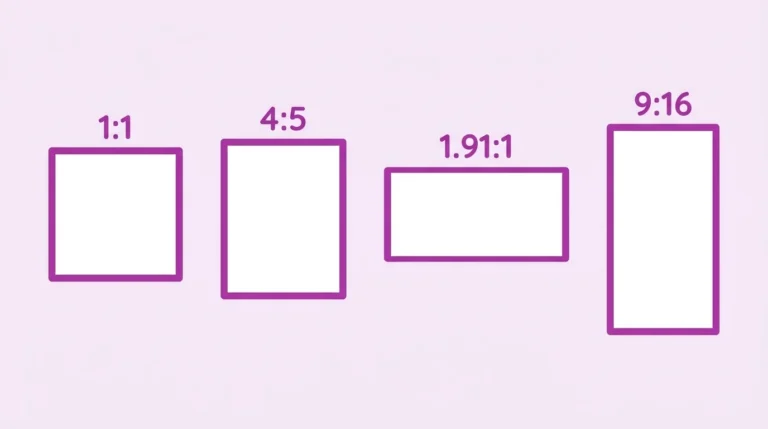
- Your video in MP4 format at 1080 x 1920 px (9:16) for the best quality
- A caption ready, along with any hashtags you want to include
How to Post a Reel from Your Camera Roll
Steps:
- Open the Instagram app
- Tap the + icon at the bottom of the screen
- Select Reel from the menu
- Tap the gallery icon in the bottom left to open your camera roll
- Select the video you want to post
- Trim the video if needed using the trim handles
- Add audio from the Instagram audio library if desired tap the music note icon
- Add text, stickers, or effects using the toolbar on the right
- Tap Next
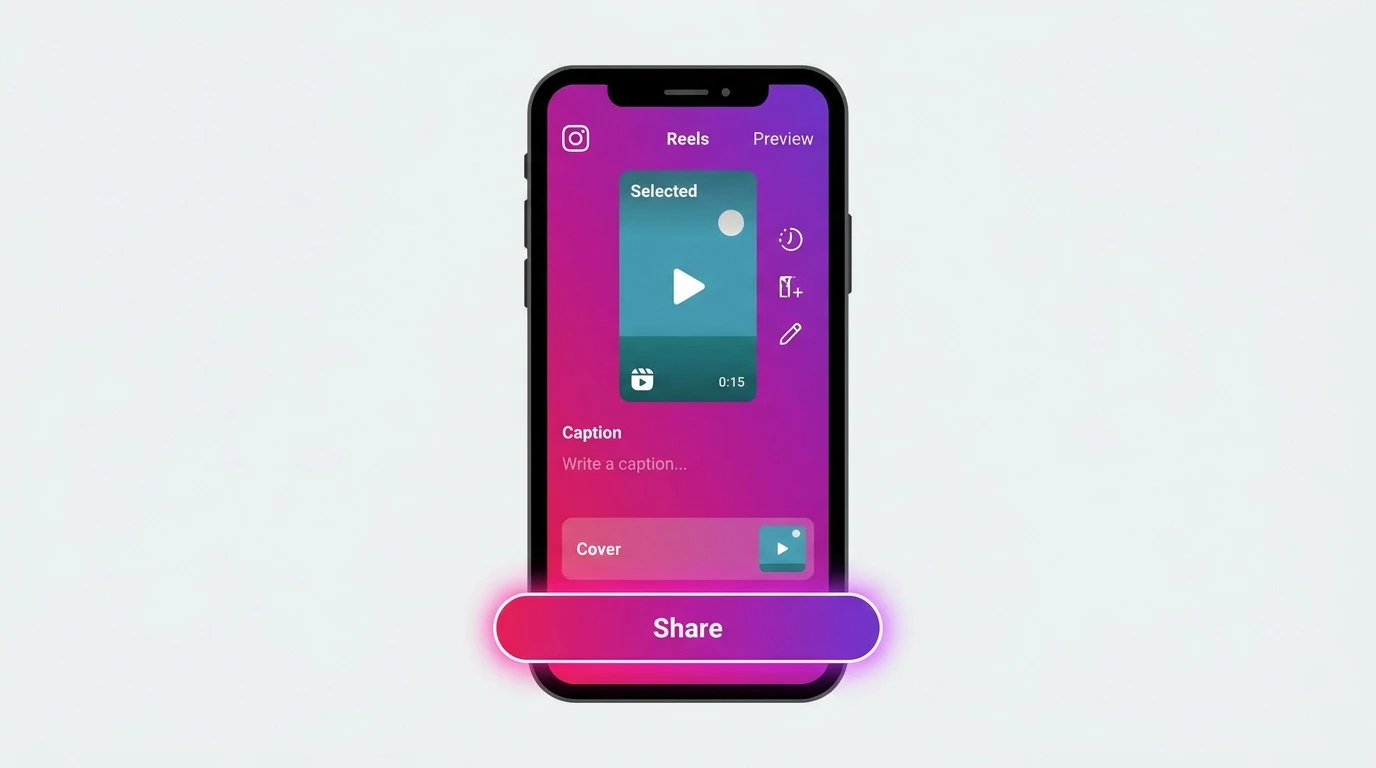
- Write your caption and add relevant hashtags
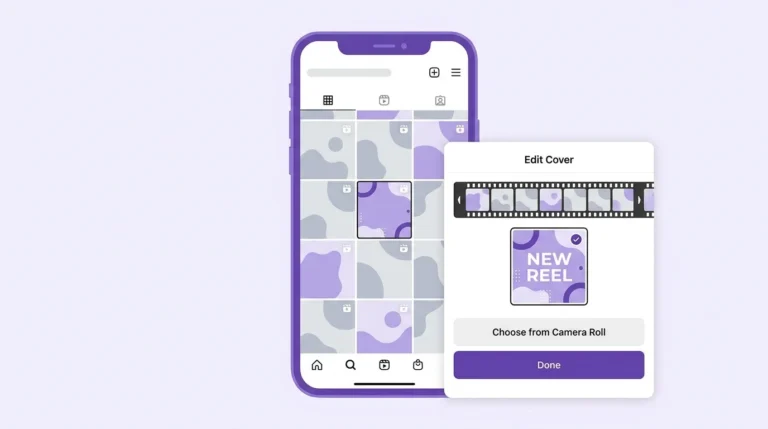
- Tap Edit cover to choose a cover frame or upload a custom thumbnail
- Select your sharing settings feed, close friends, or specific audiences
- Tap Share
Your Reel is published immediately and appears on your profile grid and in the Reels tab.
How to Record a Reel Directly in the Instagram App
Steps:
- Open the Instagram app
- Tap the + icon and select Reel
- Use the recording screen to set your clip length to 15, 30, 60, or 90 seconds
- Add audio by tapping the music note icon before recording
- Select any effects or filters from the right toolbar
- Hold the record button to capture your clip release to pause and continue recording multiple clips
- Tap the checkmark when you have finished recording
- Add text, stickers, and transitions on the editing screen
- Tap Next
- Write your caption, choose your cover photo, and adjust sharing settings
- Tap Share
How to Post a Reel from Desktop
You can upload Reels from a desktop browser at instagram.com.
Steps:
- Go to instagram.com and log in
- Click the + icon in the left sidebar
- Select your video file from your computer
- Trim and adjust as needed
- Add a caption and cover image
- Click Share
Note: Some editing features such as audio from the Instagram library and in-app effects are only available in the mobile app.
Reel Caption and Hashtag Tips
- Write a caption that adds context or continues the story your Reel tells
- Place the most important information in the first line since captions are truncated on the feed
- Use 5 to 10 relevant hashtags rather than the maximum 30 focused hashtags; typically outperform a large generic list
- Add hashtags at the end of your caption to keep the text clean
Choosing a Cover Photo for Your Reel
The cover photo is the thumbnail that shows on your profile grid. Instagram selects a default frame from your video automatically.
To choose a different cover:
- Tap Edit cover on the final screen before sharing
- Scrub through your video to select a frame, or tap Add from camera roll to upload a custom image
- Tap Done
A clear, well-framed cover photo makes your Reels look more intentional on your profile grid and can improve tap-through rates.
Frequently Asked Questions
Can I post a horizontal video as an Instagram Reel?
Instagram will accept horizontal videos but will display them with black bars above and below. For the best result, always use vertical (9:16) format at 1080 x 1920 px.
How long can an Instagram Reel be?
Reels can be up to 90 seconds. Videos longer than 90 seconds cannot be posted as Reels consider posting them as standard feed videos instead.
Can I add multiple clips to one Reel?
Yes. When recording in the app, you can capture multiple clips that are stitched together automatically. When uploading from your camera roll, you can select multiple clips and arrange them in sequence.
Why is my Reel not showing on my profile after posting?
Check that you selected the option to share to your feed during the posting process. If the Reel was shared only to Close Friends or with restricted settings, it may not appear publicly on your profile grid.
Can I edit a reel after posting it?
You can edit the caption and cover photo after posting. The video content itself cannot be changed. Delete and repost if you need to change the video.
Conclusion
Posting Reels on Instagram takes only a few minutes once you know the steps. Whether you upload from your camera roll or record in the app, make sure your video is in the correct format, write a strong caption, and choose a clear cover photo before hitting Share.
For a complete overview of everything you can do with Instagram Reels, visit our Complete Instagram Reels Guide.